Quieter Creativity in Upstairs Spaces
Noise from an upstairs home studio can turn into a real headache. You want to record, rehearse or mix, but every footstep and rolling chair seems to echo downstairs, out into the street, or into next door's living room. It can feel even worse in summer when windows are open and more people are at home trying to relax.
This is where acoustic underlay comes in. It sits under your flooring and helps cut the impact noise that travels through timber floors. You do not have to strip the whole room back to the joists to get a noticeable difference, and you can keep the space looking like a normal bedroom or office. At Advanced Acoustics, we focus on practical, UK-friendly solutions that fit how real homes are built.
Why Upstairs Studios Leak so Much Noise
Upstairs rooms in many UK homes are not built with loud music or regular recording in mind. They usually have suspended timber floors, lightweight walls and lots of small gaps. All of this gives sound plenty of paths to travel.
Two main types of noise cause trouble:
- Impact noise, like footsteps, dropped gear, tapping drum pedals, or chair wheels
- Airborne noise, like vocals, guitars, speakers and especially the low end from subs or kick drums
With a typical upstairs floor you often have:
- Floorboards or chipboard sitting on timber joists
- Limited insulation in the cavities
- Gaps around the room edges and around pipes or cables
Those gaps act like little sound highways. Vibrations run through the boards, into the joists, and then into the ceiling of the room below.
It is also important to separate soundproofing from acoustic treatment. Soundproofing is about keeping sound in or out of a room. Acoustic treatment is about improving the sound inside the room. So acoustic underlay, denser boards and upgraded ceilings help reduce what others hear. Foam tiles, acoustic panels and bass traps help you hear more clearly when you are recording or mixing.
A thick carpet, a big rug and a few bits of foam on the wall might make the room feel softer, but they barely touch the low‑frequency energy that shakes the structure. That is why people often still get complaints even when the room looks "padded".
How Acoustic Underlay Reduces Unwanted Noise
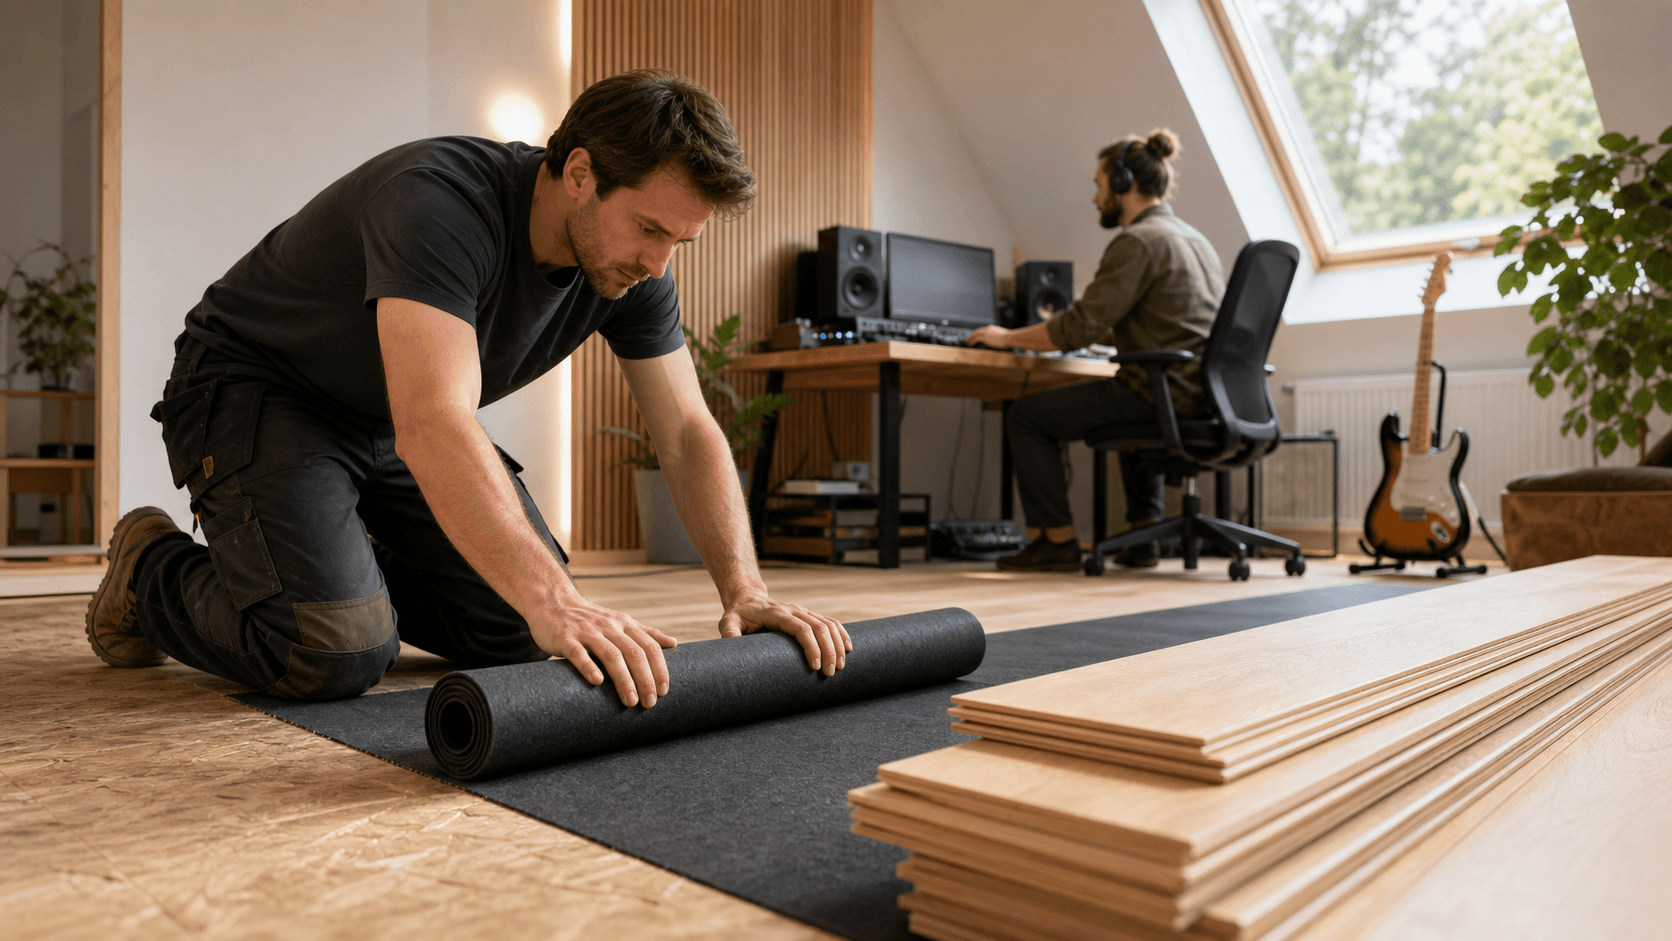
Acoustic underlay is a dense but springy layer that sits under your final floor finish. It is designed to soak up impact energy before it reaches the main structure of the building. When you walk across the room, or move a mic stand, the underlay helps absorb and spread that energy so less passes into the joists below.
Three key things make a good acoustic underlay:
- Mass, so it can block and slow down sound
- Resilience, so it can compress and recover without going flat
- Decoupling, so it creates a break between your floor finish and the structure
Standard underlay for carpet or laminate is mainly about comfort and a smooth finish. Acoustic underlay adds performance aimed at sound reduction. It is fitted in a similar way, but it is built from different materials and rated for how much it can reduce impact noise.
In a home studio, acoustic underlay usually works best:
- Under laminate, engineered wood, vinyl or sometimes under carpet
- Across the whole floor, not just under the desk
- In high traffic paths, like around the recording area, drum kit, keyboards and chair zones
When the whole finished floor is floating on an acoustic layer, it is harder for vibrations to find a direct path into the structure.
Designing a Floor Build-up for an Upstairs Studio
A typical upstairs studio floor build-up might look like this, starting from the bottom up:
- Existing timber joists and ceiling below
- Existing floorboards or chipboard deck
- Optional extra acoustic board to add mass and stiffness
- Acoustic underlay across the full area
- Chosen floor finish, such as laminate, engineered wood or carpet
This sort of "floating floor" style build means the finished layer is sitting on the acoustic underlay instead of being fixed hard to the boards everywhere. That break helps to block vibrations that would normally pass straight into the structure.
Edge isolation is just as important as the main floor area. You want to:
- Use perimeter strips so the floating floor does not touch the walls directly
- Seal gaps around the floor edges so sound cannot leak through small cracks
- Avoid rigid fixings that connect the floating layer to joists or walls
To go a bit further, you can combine acoustic underlay with other soundproofing elements, such as:
- Extra infill between joists under the studio
- An upgraded ceiling below using acoustic plasterboard and suitable fixings
At Advanced Acoustics, we often suggest a balanced approach, so you are improving the floor and the surrounding structure without needing to rebuild the whole house.
Practical Installation Tips and Common Pitfalls
Planning the floor upgrade properly makes the job smoother and avoids nasty surprises. It helps to start by checking the condition of the existing floor: are there squeaks, loose boards or noticeable dips? Sorting those issues before the acoustic work will give a better finish.
When you are preparing, think about:
- Measuring the room carefully, including alcoves and doorway areas
- Choosing a floor finish that works well with acoustic underlay
- Allowing flooring materials to acclimatise to the room temperature and humidity
Late summer is often a good time to tackle this type of project. You can open windows for fresh air while working, there is usually more natural light, and materials tend to settle well as the weather starts to cool.
Basic fitting rules for acoustic underlay usually include:
- Covering the full floor, wall to wall
- Laying it close, but not jammed tight, to the perimeter
- Staggering joints where the system allows
- Cutting neatly around radiator pipes and cable routes, then sealing those gaps
Common mistakes that can spoil the performance include:
- Leaving small gaps between sheets that let sound through
- Fixing the finished floor directly to the joists and bypassing the underlay
- Ignoring flanking paths, like gaps under skirting boards
- Using a type of underlay that is not suited to your chosen floor finish
Getting professional advice on the build-up and install method helps avoid these traps.
Pairing Underlay with Acoustic Treatment for Best Results
Acoustic underlay mainly affects what other people hear. Acoustic treatment mainly affects what you hear. For a home studio that you want to trust for recording and mixing, you really need both.
A simple treatment plan for an upstairs studio could include:
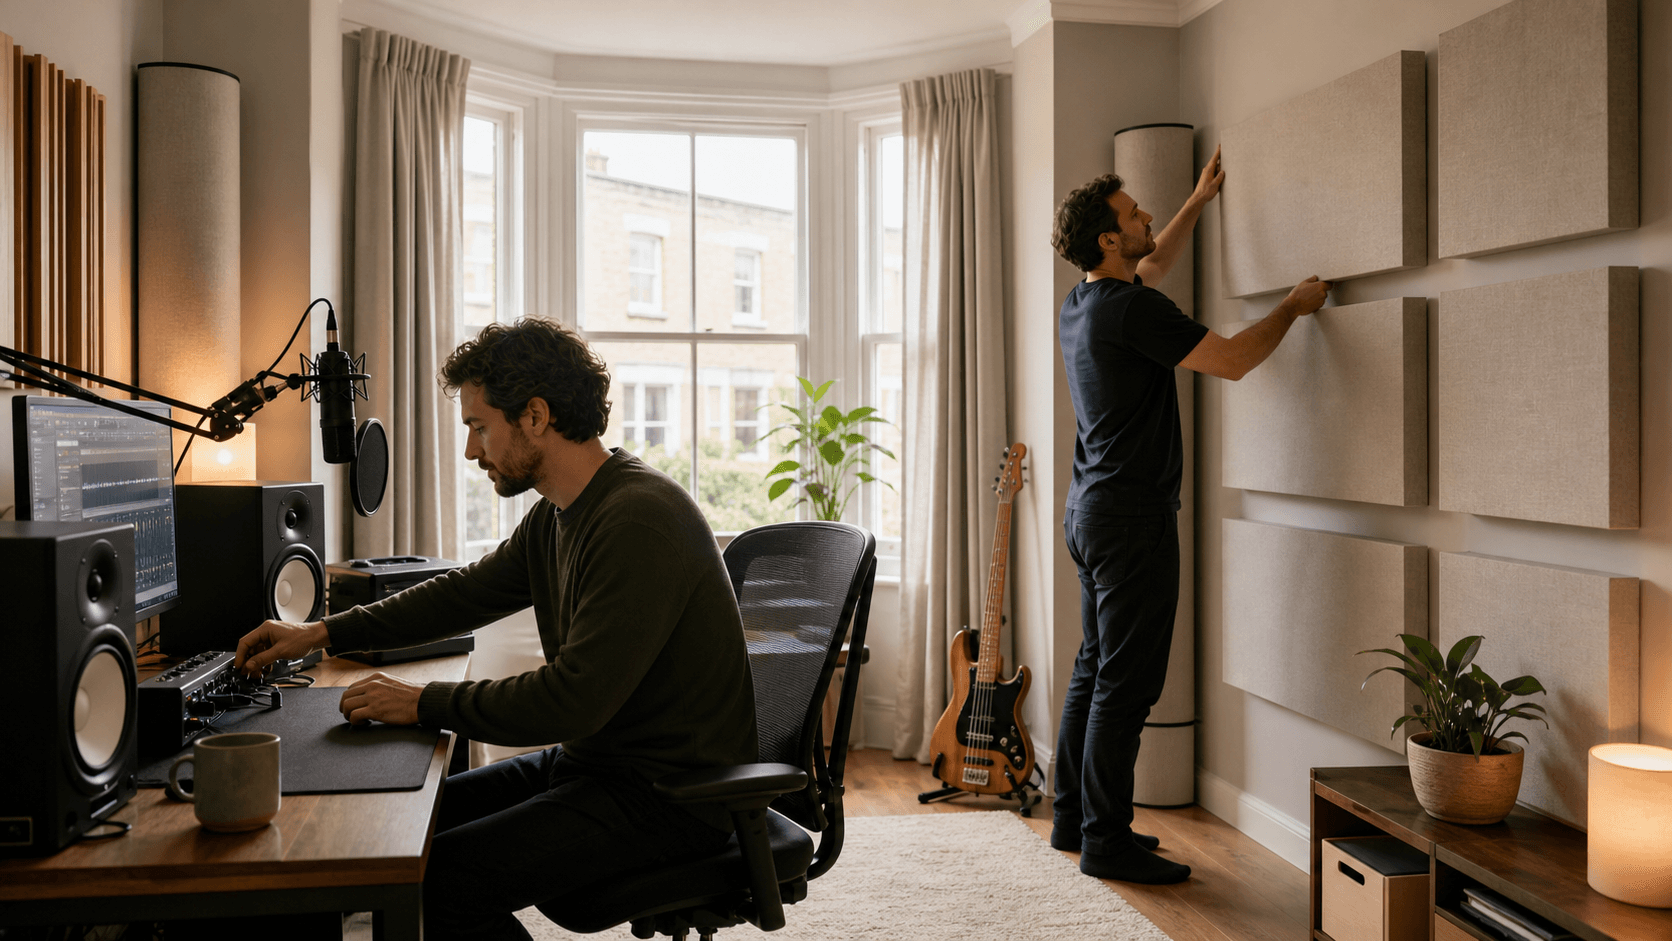
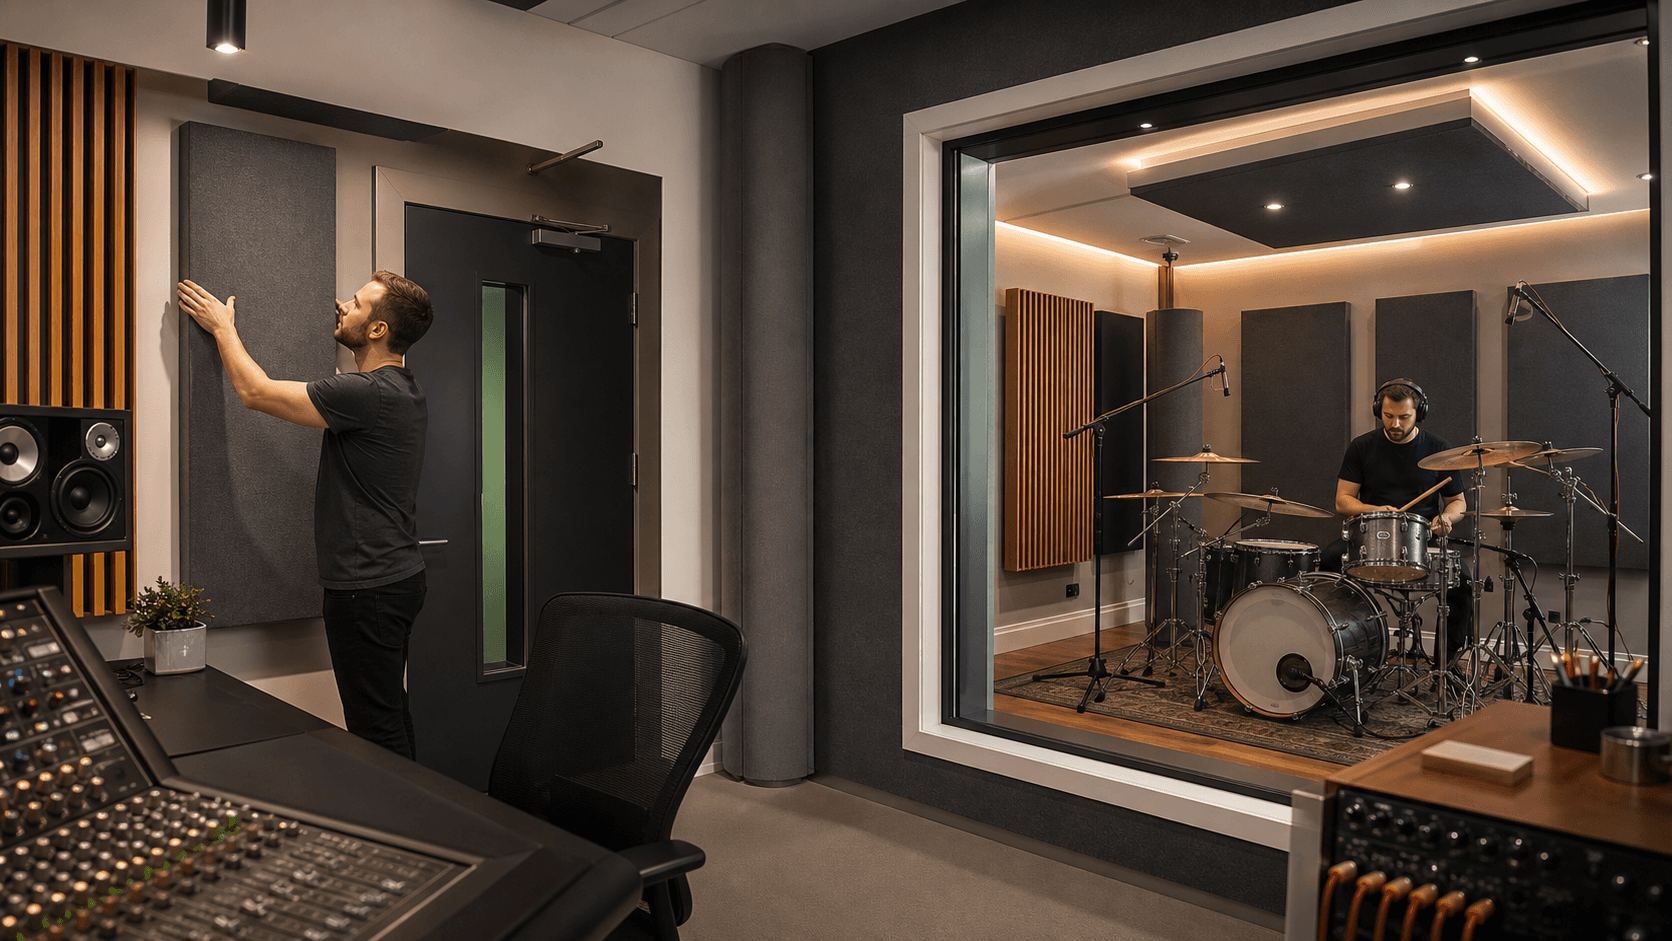
- Broadband acoustic panels at the first reflection points beside and behind the listening position
- Bass traps in the corners where low‑frequency build‑up is strongest
- A ceiling cloud above the mix position or recording spot
By combining a better isolated floor with well-placed wall and ceiling treatments, you get a room that sounds controlled, but still natural. You can work for longer without ear fatigue, and what you hear will match more closely with how your music or content sounds elsewhere.
Appearance matters too, especially if your studio is also a spare room or home office. Slimline panels, different fabric colours and flexible mounting options help keep the space tidy and inviting while doing the acoustic heavy lifting. At Advanced Acoustics, we design treatments that work in normal UK homes, not just in large commercial studios, so it is possible to get a professional feel without turning your spare room into a cave.
Get Started With Your Project Today
If you are planning a refurbishment or new build and need reliable sound control, we can help you choose the right acoustic underlay for your space. At Advanced Acoustics we work with homeowners, contractors and specifiers to design practical solutions that fit real-world requirements and budgets. Tell us about your project and we will provide clear guidance, product recommendations and installation advice. If you would like tailored support or a quotation, simply contact us.