Drum recording at home does not have to mean angry neighbours, harsh cymbals and boxy kick sounds. With a drum booth that is planned properly, you can keep the volume under control and get studio-ready drum tracks without turning your whole house into a building site.
As the days get shorter and colder, more playing time moves indoors. Thin walls, low ceilings and hard floors can turn a fun session into a noise problem very fast. In this guide, we will walk through what a drum booth really needs to do, how soundproofing and acoustic treatment work together, and how to plan a space that actually sounds good and keeps the peace.
Why a Drum Booth Matters at Home and in Small Studios
Many drummers hit the same wall. The kit sounds loud and messy in the room, recordings feel cheap, and people in other rooms complain every time you start a groove. Opening a window is not an option in cold, wet UK weather, and closing it just throws more energy back into the room.
A drum booth gives you a controlled space inside the space you already have. You get:
- Lower noise spill into the rest of the property
- A more consistent sound from session to session
- A clear listening environment so mic choices and tuning are easier
You do not always need to rebuild the whole room. The trick is to treat a drum booth as its own small project, with clear goals and the right materials, instead of random panels and guesswork.
What a Drum Booth Really Needs to Do
A drum booth has two separate jobs, and they are often mixed up.
- Isolation, stopping sound passing into other rooms or properties
- Acoustic control, shaping the sound inside the booth for clean recordings
Drums push energy across the full frequency range. The kick and toms drive deep low end into the floor, walls and ceiling. The snare and cymbals throw sharp energy that bounces off hard surfaces and comes back into the mics as harsh, splashy reflections.
So a proper drum booth has to:
- Stop structure-borne vibration leaving the room as much as is practical
- Soak up early reflections so transient detail stays clear
- Smooth out low-end build-up so the kit sounds tight, not boomy
This is where common myths cause trouble. Egg boxes on the wall do almost nothing. Thin foam on every surface will not soundproof a drum room and often just kills the top end while leaving the lows wild. Real progress comes from purpose-designed soundproofing and acoustic treatment, fitted where they actually do something.
Getting Soundproofing Right Before You Hit Record
Soundproofing is about blocking and separating, not about soft surfaces. For a drum booth, that normally means three main ideas: add mass, decouple, and seal.
- Adding mass with dense wall and ceiling layers so less sound passes through
- Decoupling structures so the inner drum booth does not feed vibration straight into the outer room
- Sealing all gaps so air, and therefore sound, has no easy path out
In practice, that can look like:
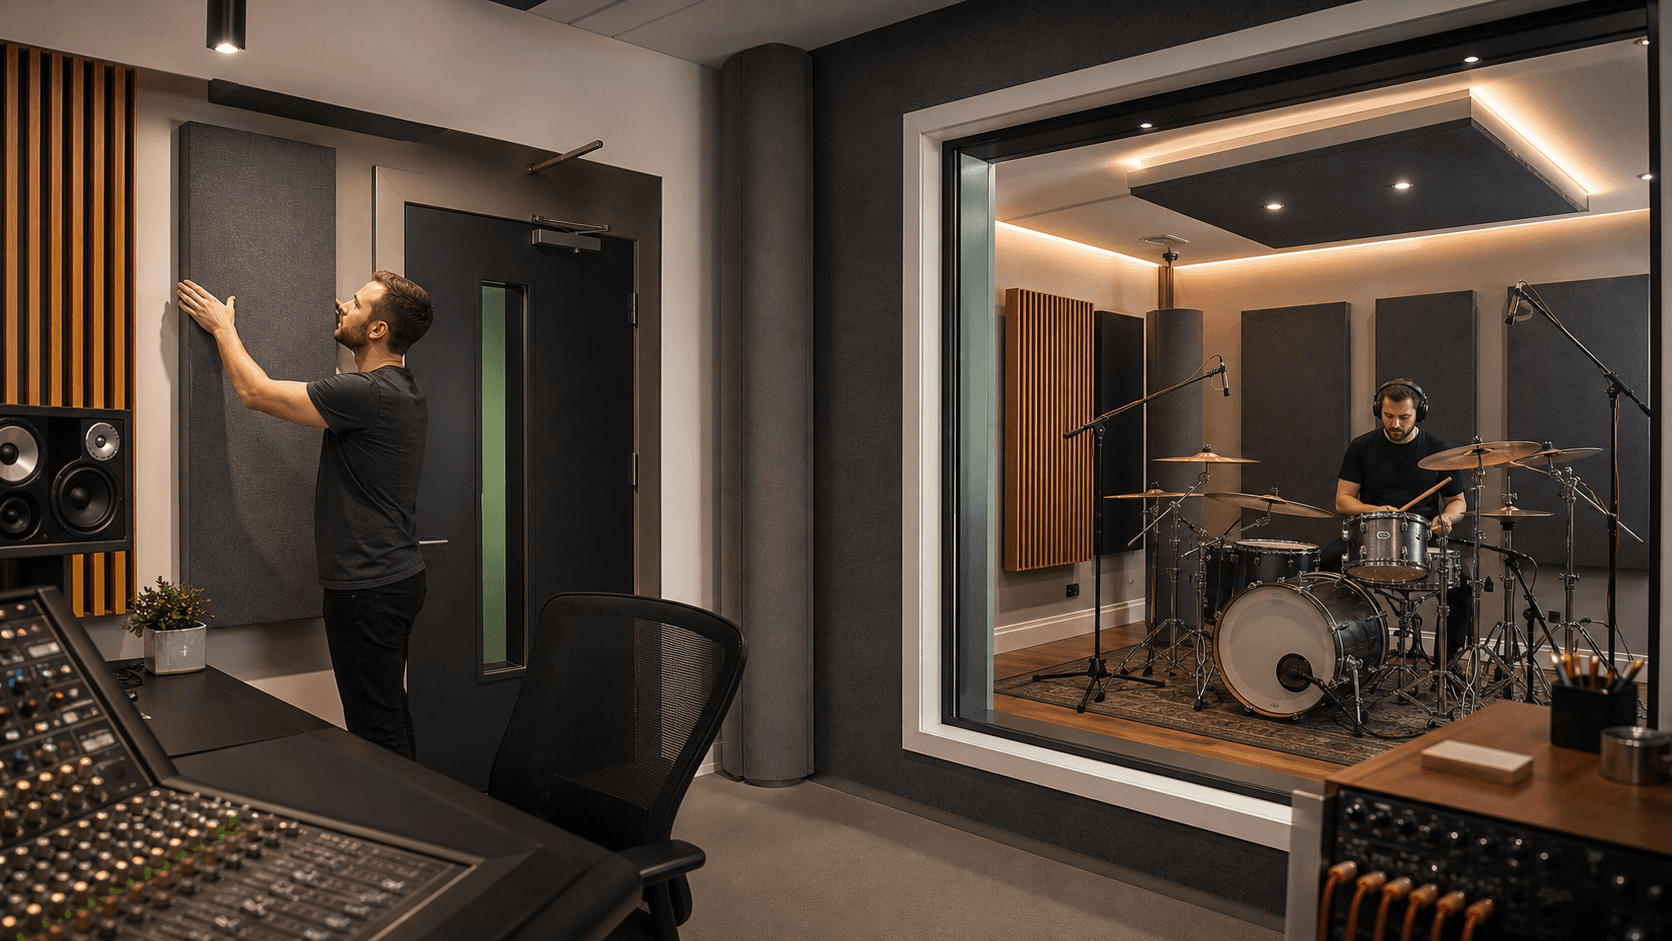
- A room-within-a-room, where inner walls and ceiling sit on isolated fixings, separate from the main structure
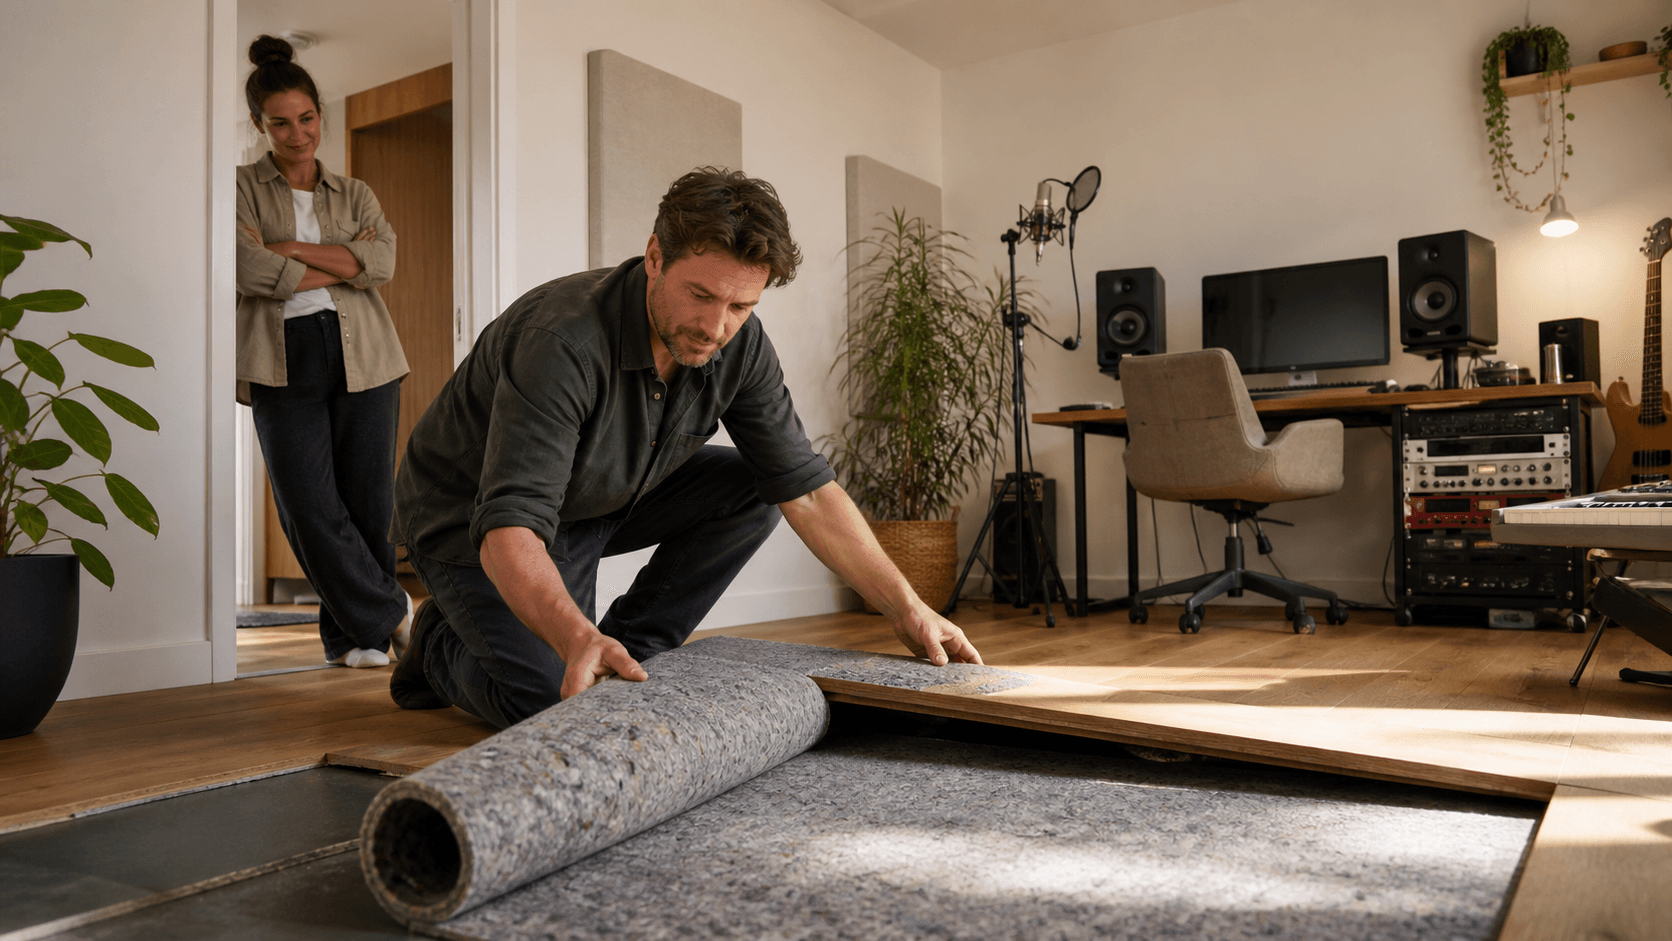
- An isolated floor system under the kit, using acoustic underlays or platforms to cut impact noise into the structure
- Double-skin walls with acoustic insulation in the cavity to soak up energy between layers
For UK homes and small studios, there is usually a balance to find. You might not have the height or floor loading for a full floating room, but you can still use high-density panels, soundproof boards, isolation clips and underlay systems to get a real drop in noise breakout without making the room feel like a bunker.
The aim is not total silence outside of the booth, which is hard with drums in any normal building. The aim is a clear, noticeable reduction so practice and recording can happen without constant complaints.
Acoustic Treatment That Makes Your Kit Sound Expensive
Once the shell is sorted, the focus moves to how the kit sounds inside the booth. This is where acoustic treatment comes in, and it starts with broadband absorption.
Key areas to treat are:
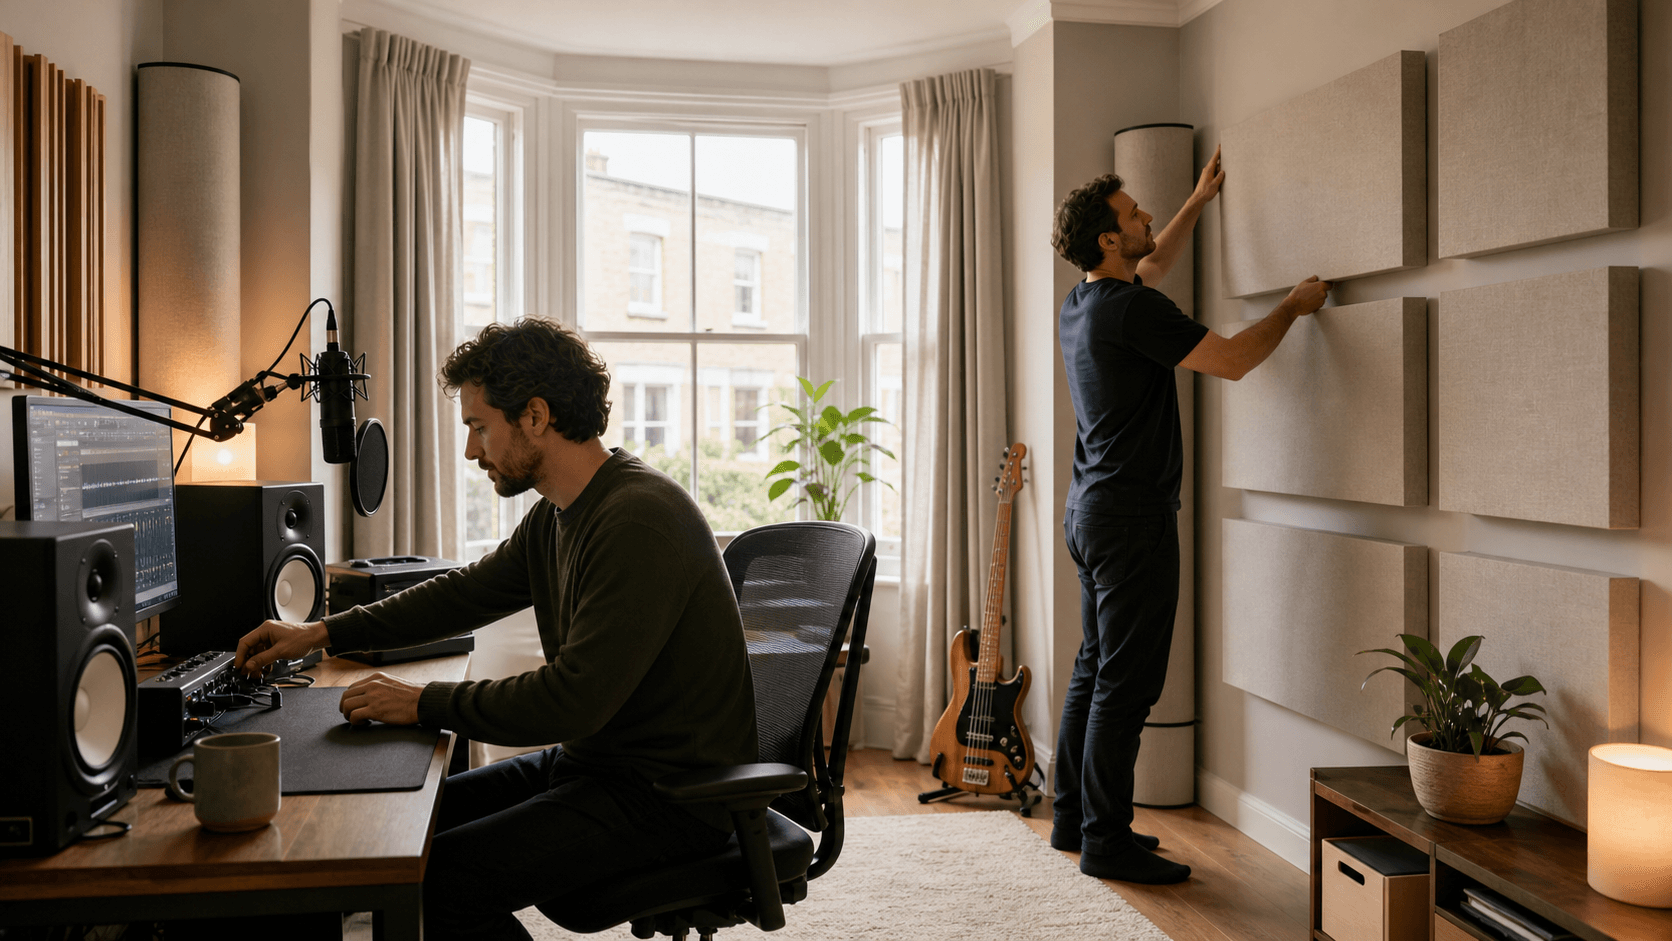
- Early reflection points on side walls where snare and cymbal energy first hits
- A ceiling cloud above the kit to control vertical reflections between heads and ceiling
- The rear wall behind the drummer or behind the mics to cut flutter echo
Broadband absorbers with proper thickness work across a wide range of mids and highs, so your cymbals stay crisp but not painful, and the snare has body without ringing around the room.
Low-frequency problems need different help. Kick and toms build up in corners and along room edges. Instead of just stacking more thin panels, you need bass traps that:
- Are deep enough to work on low frequencies
- Sit in vertical corners and, where possible, wall to ceiling joins
- Target pressure zones where the low end actually gathers
A smart booth does not feel like playing inside a mattress. You still want air around the kit, some life in the room, and a sense of space on the overheads. That is where a light touch of diffusion, or simply leaving a couple of surfaces more live, can help keep the drums natural while the main problem areas are under control.
Planning a Drum Booth for Your Space and Budget
Before ordering anything, it helps to answer a few key questions:
- How much floor area and ceiling height do you have to play with?
- How close are neighbours and how sensitive is the rest of the house to noise?
- Is the booth mainly for practice, demo recording or paid sessions?
- Do you need to take it down one day if you move?
With that in mind, most setups fall into three groups:
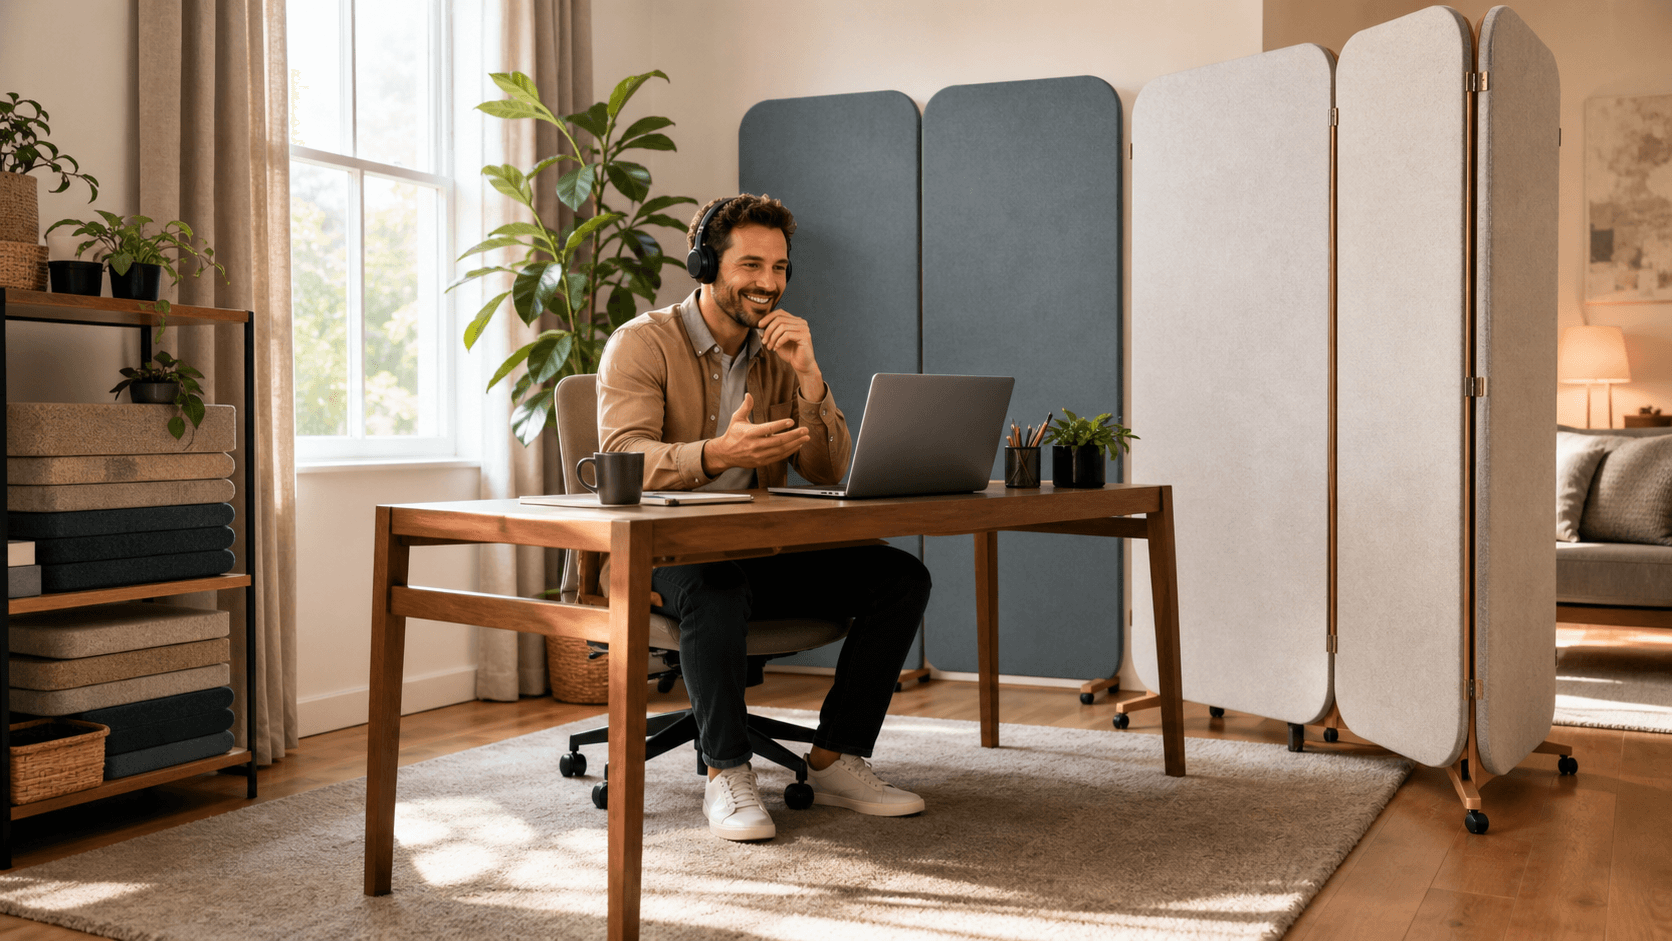
- Modular drum booths, more like freestanding enclosures that can be moved, good for renters
- Semi-permanent builds, where you upgrade walls, ceiling and floor in one room without changing the rest of the property
- Fully built rooms, where a full room-within-a-room is added as part of a long-term studio plan
To get the best result for each pound you spend, it often makes sense to:
- Start with isolation where you expect complaints, such as the floor and shared walls.
- Add focused acoustic treatment around the kit and early reflection points.
- Grow into more treatment and extra isolation layers as your recording needs expand.
Seasonal Tips for Autumn and Winter Drum Sessions
Cooler, wetter UK weather changes how rooms feel. Windows are shut, heating comes on, and the outside background noise can drop while the noise inside feels more noticeable.
A drum booth becomes even more useful at this time because:
- Closed windows stop sound leaving, but also bounce more sound back at you
- Damp air and temperature changes can shift how drums and rooms respond
- Indoor rehearsal hours usually go up when gigs are lighter and evenings get darker
Longer sessions also mean comfort matters. Good booths plan for fresh air with low-noise ventilation paths that bend around acoustic treatments, so sound does not rush in and out with the air. Rattles from ducts, loose fixtures or light fittings can ruin a great take, so it is worth checking:
- Door seals for gaps or wear
- Any screw-fixings or brackets near the booth for vibration
- Older panels for sagging or damage that might change how they absorb
A quick check before the busy indoor season starts can save you from chasing strange noises in the headphones when you would rather be tracking.
Turning Your Drum Booth Plan Into a Studio-Grade Space
A drum booth that truly works is not magic, it is a clear sequence. Decide what the booth is for, control how sound leaves the room with thoughtful soundproofing, then shape how the kit sounds inside with the right mix of absorption and bass control.
Mapping out your kit layout, sketching the room and marking likely reflection points will help you decide which soundproofing elements and which acoustic treatments should come first. With a focused plan, you can turn a drum booth from a loud corner that nobody enjoys into a reliable, studio-grade space that feels good to play in and sounds good on every recording.
Get Started With Your Project Today
If you are ready to upgrade your space with professional sound isolation, we can design and build a drum booth tailored precisely to your needs. At Advanced Acoustics we take the time to understand your room, your goals and your budget so the solution works in real-world use, not just on paper. To discuss ideas, get a quotation or ask technical questions, simply contact us and we will guide you through the next steps.