Controlling noise in a small shared studio is difficult. With multiple users, even basic rehearsals can clash. Drums are especially hard to manage in rooms with thin walls or limited treatment, sending sound through ceilings, hallways, and adjoining rooms without proper isolation.
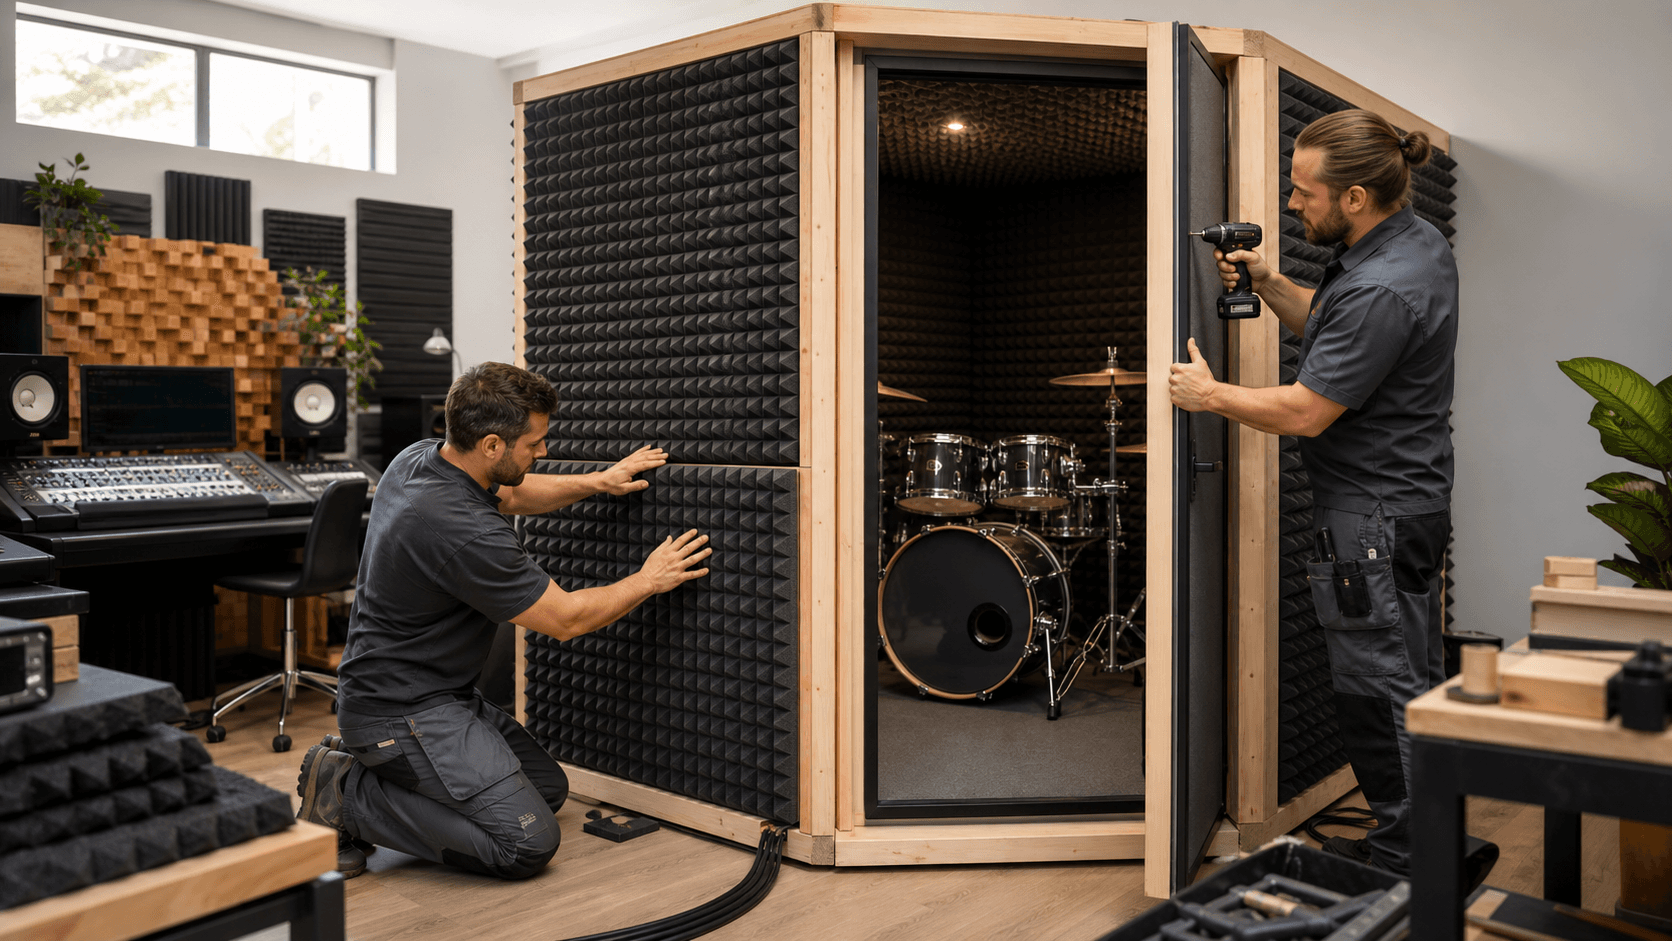
A drum booth creates a controlled area that contains drum noise and reduces outside interference. Effective soundproofing, independent wall and ceiling structures plus a decoupled floor, reduces sound leakage. Combine high-mass materials for isolation with acoustic foam to control reflections so you can play without disturbing others.
Why Shared Studio Spaces Need Sound Control
When rooms share walls, drum sound travels easily, from low thuds to sharp cracks. Insulation may help with temperature but does not stop vibrations. Acoustic foam reduces reflections and improves clarity inside the booth, but it is not soundproofing. True isolation relies on dense, high-mass materials and separating structures.
Drums also span strong lows and bright highs, so both isolation and internal treatment matter. Our UK-manufactured acoustic foam panels come in standard sizes and can be trimmed or combined for compact booths. Used alongside independent walls/ceilings and a decoupled floor, they form a more complete approach for shared spaces.
Choosing the Right Spot for Your Drum Area
Not every corner suits a booth. Choose an area with fewer windows, minimal shared walls, and easy access to power and lighting.
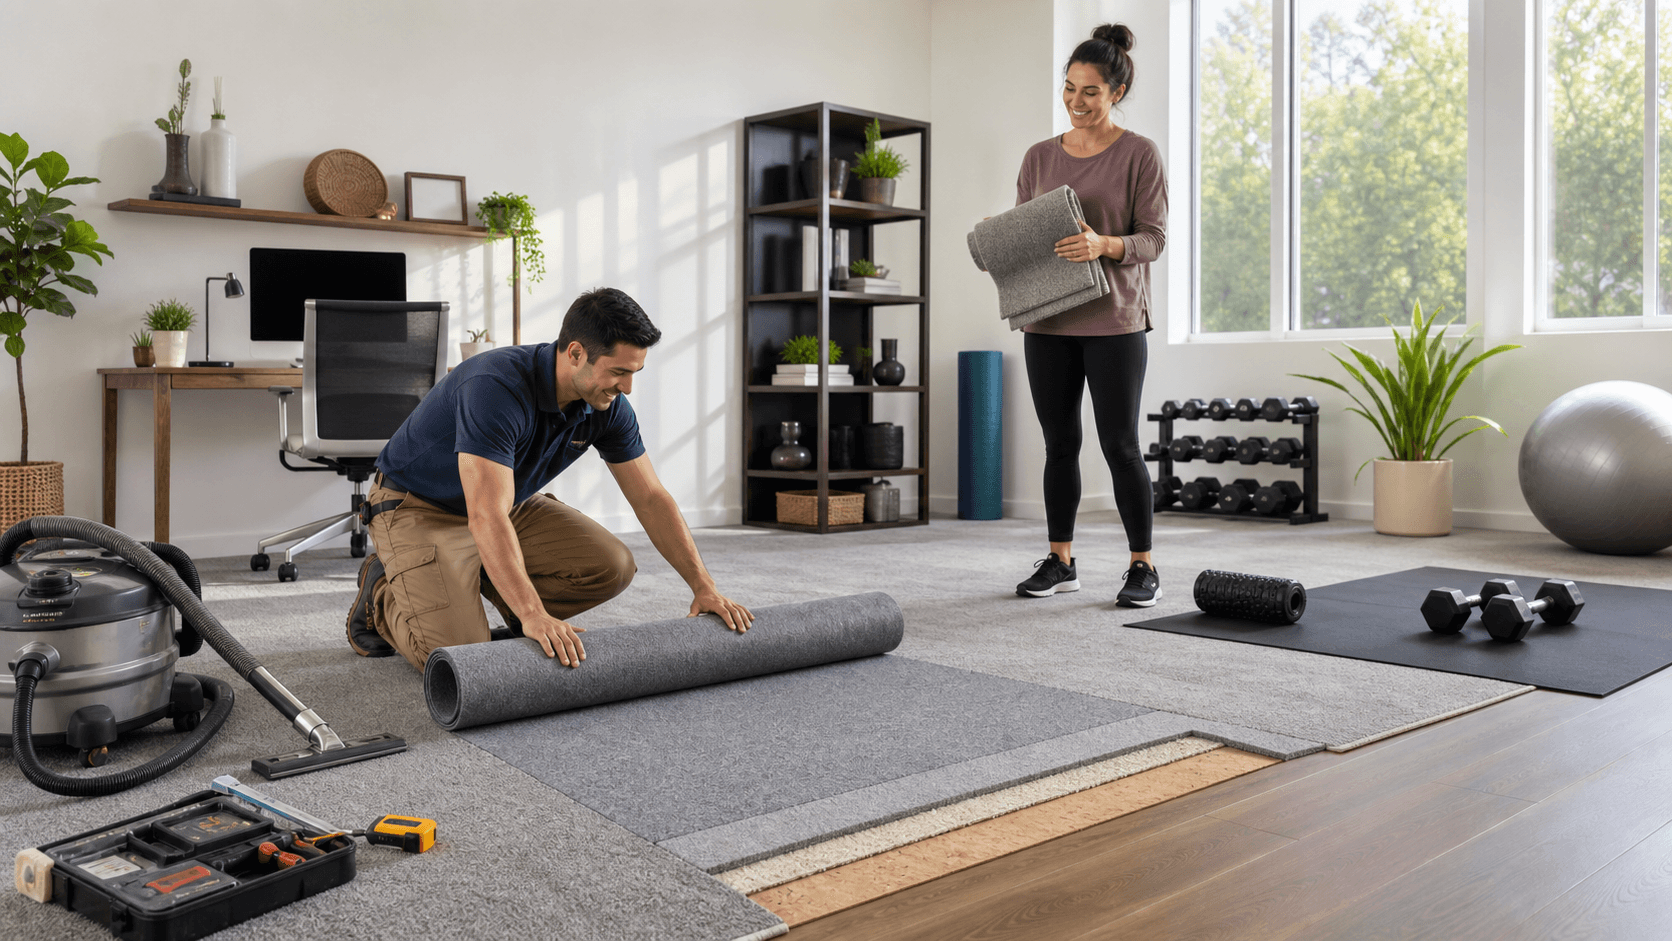
To reduce vibration transfer, avoid placing the booth directly on hollow floors without an isolation layer. If possible, plan for a floating or decoupled floor under the booth. High-mass products such as rubber acoustic matting help isolate the booth from the structure below. Foam treats reflections; dense layers and separation reduce sound transmission. Uneven walls, curved surfaces, and hard finishes can make control harder.
Consider these points when picking your booth space:
- Lower ceiling areas are often easier to treat than tall, reflective zones.
- Soft furnishings nearby (chairs, curtains) can help reduce reflections.
- Keep computers, cables, and equipment positioned safely to avoid crowding.
With careful placement and smart connections to the building, the booth will contain sound more effectively.
Building Out the Booth Structure
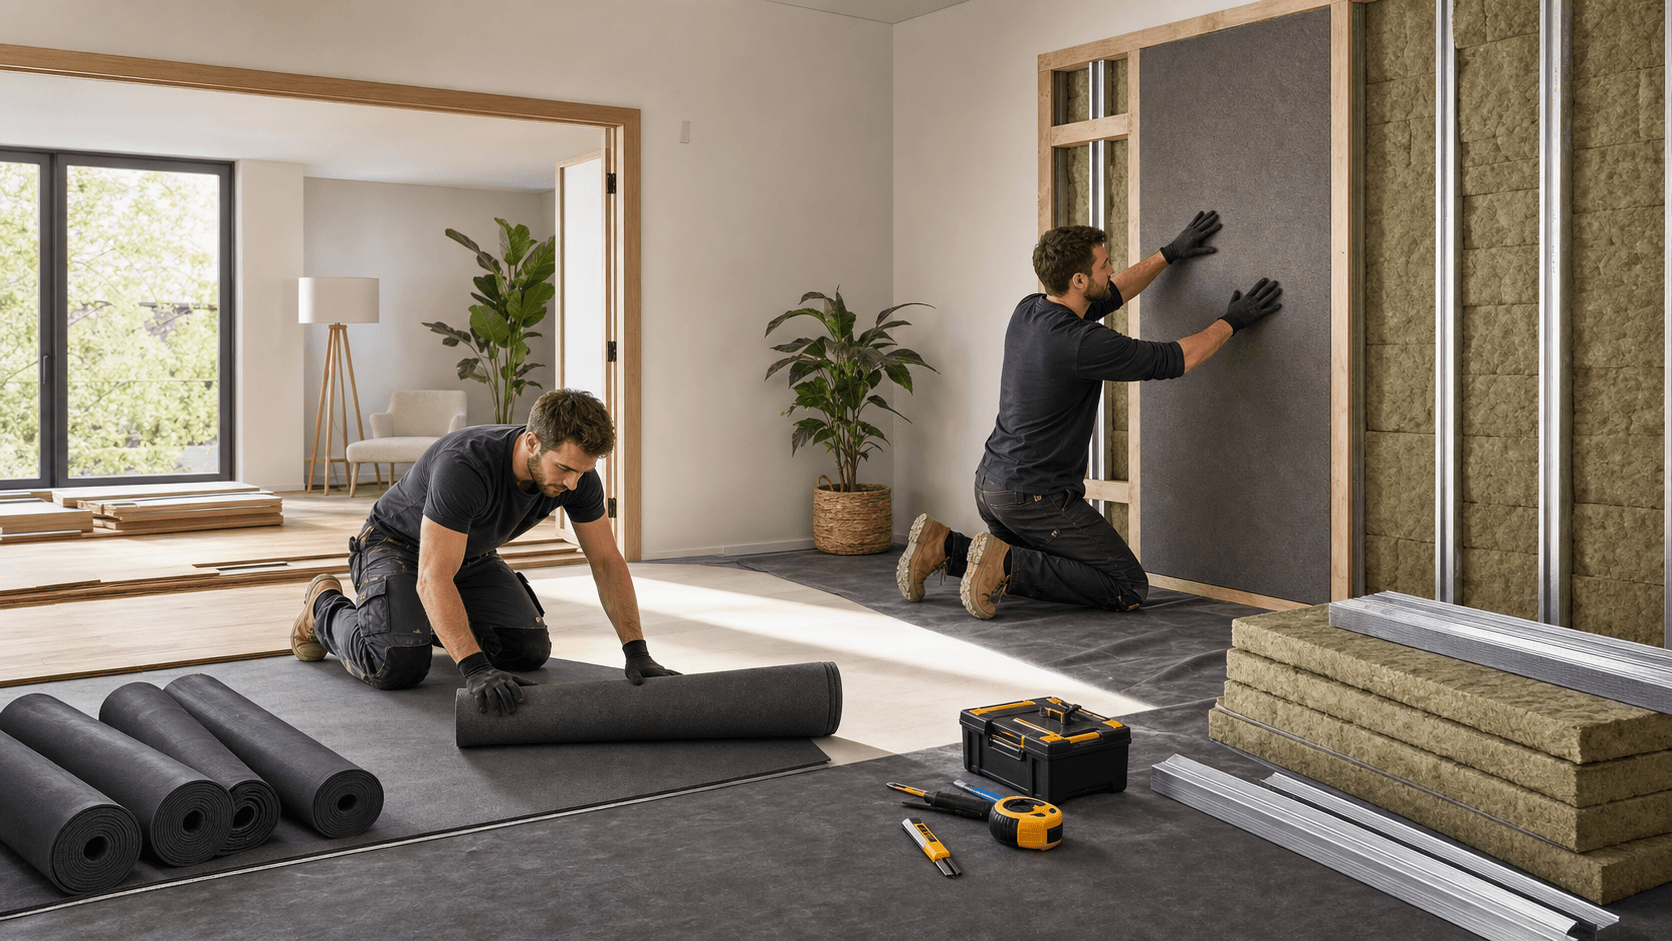
After choosing the spot, build the booth walls. This may be a free-standing frame or panels fixed to existing walls, but the aim is separation to limit direct sound transfer. For better isolation, use independent walls and a ceiling so the booth shell does not rigidly touch the surrounding structure, and add a decoupled or floating floor beneath the kit.
Acoustic foam and office acoustic panels help in different ways. Office panels add density and help manage mid-range energy, while foam inside the booth absorbs hits and reduces echo. The main soundproofing comes from high-mass layers, timber, plasterboard, and rubber acoustic matting, built into the walls, ceiling, and floor to block and isolate drum noise.
Allow space for:
- Ventilation or fans, designed to limit sound escape.
- Lighting that does not compromise the sound barrier.
- Wiring routed through sealed, protected openings.
Balancing structural decoupling, mass, and acoustic treatment keeps the booth workable for long sessions.
Making the Most of Acoustic Foam Panels
Drums create sharp transients and heavy low-end pressure, so panel placement matters. Foam thickness should suit drum use: too thin only treats surface reflections, while overly thick foam can reduce usable space. Leaving gaps between panels or angling them can help control flutter echo and reflections.
Our panels range from about 1 to 4 inches thick, including flat Acousti-Slab panels and profiled wedge or pyramid designs. These products treat the booth's internal acoustics and work alongside, not instead of, heavier isolation layers used for soundproofing.
Typical foam placement includes:
- Behind and beside the kit to control early reflections.
- On the ceiling if it is low or highly reflective.
- Near doors and seams to reduce reflected energy around weak points.
Choosing the right thickness and layout improves the sound you hear and record, assuming the booth structure is properly isolated.
Common Mistakes to Avoid in a Small Studio
Small oversights can undo sound control. Gaps, weak materials, and poor sealing allow leaks into neighbouring rooms. Another common mistake is relying on foam for isolation; it shapes the sound inside the booth but does not replace dense layers and decoupling.
Skimping on wall and ceiling construction also reduces effectiveness. Random foam patches will not control drum low-end, and flimsy builds leak easily. Independent frames, high-mass layers, and careful sealing at joints create a stronger barrier.
Overcrowding is another issue. Too much gear restricts airflow and movement, complicates mic placement, and creates uneven absorption. Mixing reflective surfaces without a plan, or neglecting floor isolation, can also reduce results.
Fixing these issues early leads to cleaner, more consistent control.
Quiet Results That Just Work
A well-built drum booth reduces levels in adjacent rooms and makes recording more efficient. With less background noise and fewer interruptions, sessions run smoother and mixes are easier.
Layer high-mass soundproofing materials with decoupled walls, ceiling, and floor, then use acoustic foam inside the booth to manage reflections. Rubber acoustic matting and similar dense products support isolation, while foam refines what you hear and capture on microphones.
With the booth properly designed, you can play confidently, monitor clearly, and keep unwanted sound contained. At Advanced Acoustics, we help studios balance soundproofing and acoustic treatment in tight spaces. Many of our acoustic foam panels come in studio-friendly sizes and can be cut, wrapped, or pre-mounted on 6 mm MDF for easier installation. Explore the options for your drum booth and contact us if you need help choosing the right fit.